Many people make clocks. Many people make weather stations. And why not combine all this in one compact, stylish and useful device? I present to your attention a project clock-meteorological station-calendar on Arduino, in which several functions are realized at once: display of time, date, readings of many sensors and even weather forecast – all this on a large screen and in a neat case.
Main features of the project
The project is based on Arduino and includes the following features:
- Large cheap LCD display (e.g. 128×64 or 20×4).
Data display:
- Clock (in large format);
- Date;
- Air temperature;
- Humidity;
- Atmospheric pressure (in mmHg);
- CO₂ level (in ppm);
- Precipitation forecast (based on pressure dynamics);
- Readings graphs (graphing temperature, humidity and pressure for an hour and a day);
- CO₂ indication with RGB LED (support for both common anode and cathode – can be set in firmware);
- Touch button for switching display modes;
- Automatic brightness adjustment of the display and LEDs based on ambient light (via photoresistor).
About the case
For realization I used a plastic case G909G from Chip and Dip. It was perfectly sized to accommodate all components including the screen, Arduino board and sensors. Power is supplied via micro-USB.
It looks neat, no “kolkhoz” solutions – you can easily put it on the table or hang it on the wall.
Plug-in modules and components
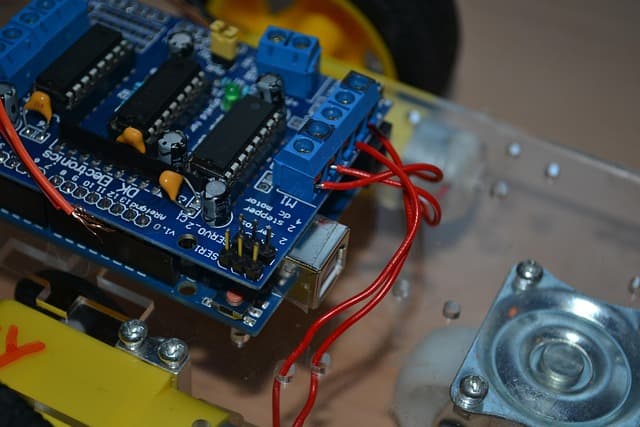
- Arduino (Uno/Nano – depends on the display and number of sensors);
- BME280 sensor (temperature, humidity, pressure);
- CO₂ sensor (MH-Z19, CCS811, SCD30, etc.);
- RTC module (real time) – important: with updated wiring diagram!
- RGB LED;
- Photoresistor (brightness control);
- Touch button (TTP223 or analog).
Firmware features
Up-to-date firmware version: meteoClock_v1.5
- Added brightness adjustment of display and LEDs depending on ambient light.
- Fixed the logic of the weather forecast – previously worked “the other way around”.
Additionally I recommend modified firmware from Norovl:
- Completely redesigned interface
Important notes
- Error in wiring diagram of mini-version of RTC – make sure to check current diagram.
- Firmware will not start without BME280, because the library without it “crashes” – peculiarity of implementation, take it into account when building.
- The brightness of the display and LEDs is controlled by a photoresistor. You can set maximum and minimum backlight levels in the firmware. The signal level is displayed on the debug screen.
Conclusion
If you want to make a useful and spectacular project on Arduino – this option is a great choice. It is suitable both as a hobby and as a learning project, especially if you want to understand how to work with sensors, displays, prediction logic and even backlight control.