I find your lack of faith disturbing.
A couple of years ago I made an Arduino Lightsaber that could have custom colours applied to it with a colour sensor, it was a messy build and the colours weren’t so great and since then I’ve been thinking of ways I could improve; with the release of Episode IX just recently I thought it was the perfect time to make another one!
Parts.
- Arduino Nano
- DFRobot Mp3 player module
- Bone Conductor
- Protoboard
- Pixie LED
- Push Button
- Pimoroni Resistor Kit
- Micro SD Card
- RGB Rotary Encoder
- RGB Rotary Encoder Breakout
- Wires
- Plastic Rod from Simply Plastics
- Tape
- 9v Battery
- 9v Battery connector
There’s always a bigger fish.
This time I opted for a solid plastic rod instead of the cylinder I used in the original – from the same company though: SimplyPlastics
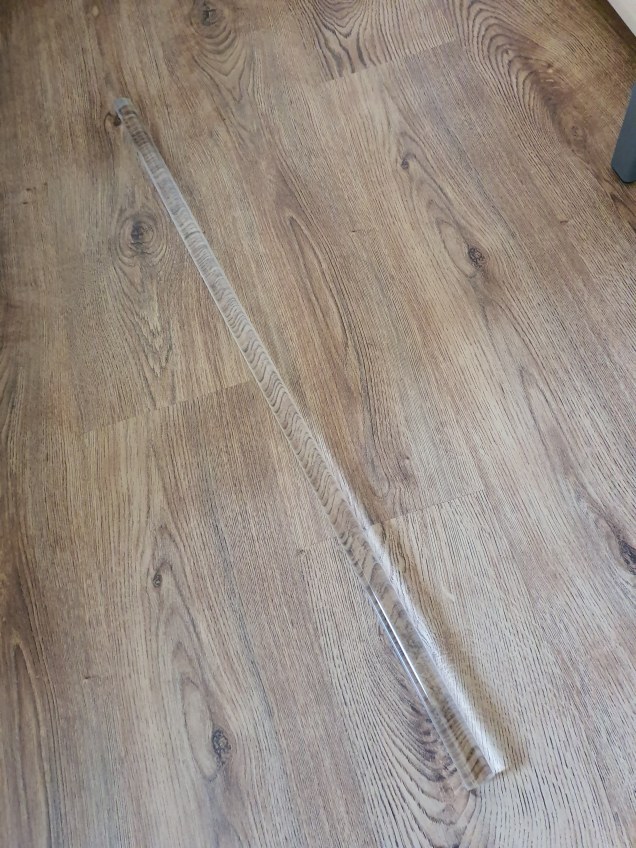
This should help in propagating the light and make for a better blade, similar to what I used in my ASMD Shock Rifle project.
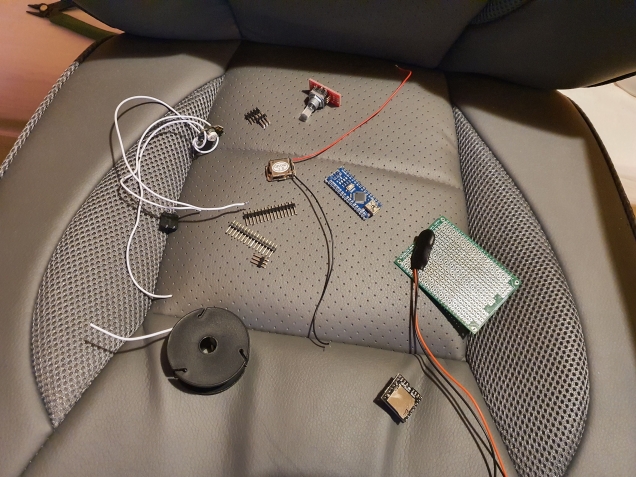
There’s most of the components – including the bone conductor; here’s a quick explanation of what a bone conductor is. I will be using this to attach to the blade, so that the blade itself will emit the sound – something else I didn’t get quiet right last time was the lack of a buzzing sound while the saber was on, so this time it will have that for extra effect.
This is where the DFRobot MP3 player comes in; this will have the sounds of a lightsaber on it which will be played when the saber turns on, while it’s on and when it turns off.
The RGB rotary encoder will be used to cycle through colour selections, clicking it to cycle though and turning it to adjust the colour levels, allowing total customisation.
Lastly the push button will activate/deactive the saber.
First things up I setup the gear as a prototype using breadboard:
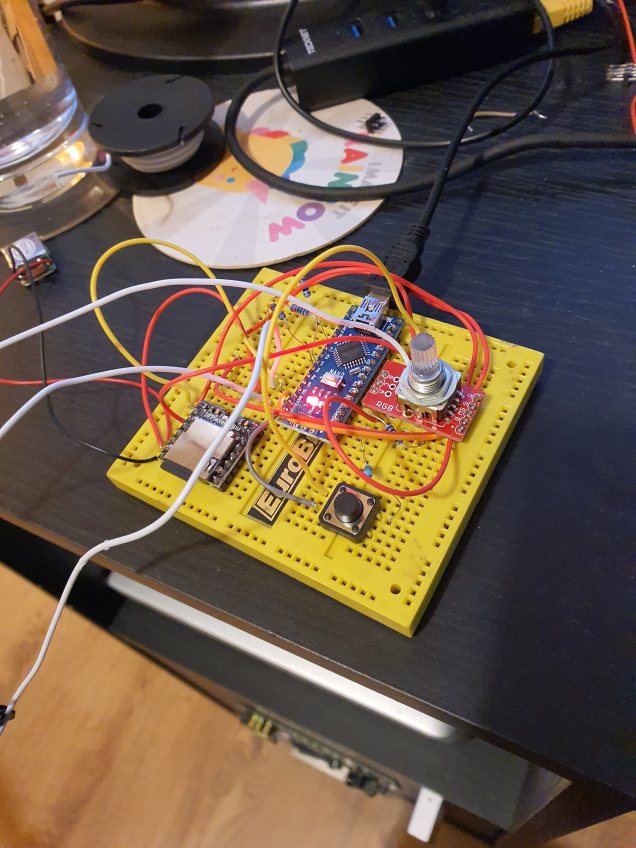
For the button I used this setup, the MP3 player is setup as per these instructions, the Pixie instructions are here,
Getting the SD Card setup is as simple as formatting to FAT and then chucking the MP3’s on with a certain folder structure – as you can see on my GitHub which will be linked down below.
A quick test of the Pixie:
Looking good!
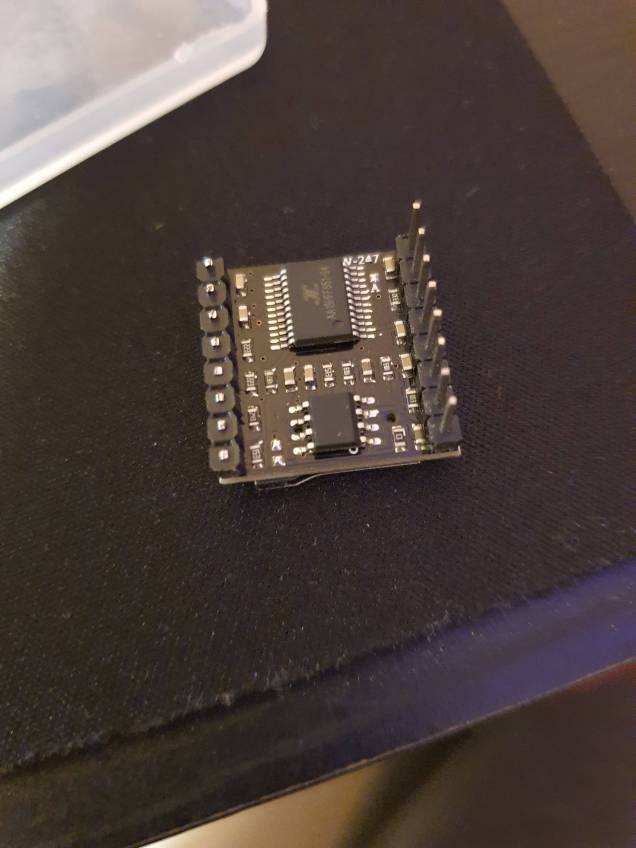
A close up of the DFRobot MP3 player, I’ve snipped off the un-needed pins so it will fit better on the protoboard.

And the rotary encoder – which is on a breakout to make things easier. I wired this in with 3 220ohm resistors leading from GND on the Nano to the RGB pins, then I setup the button pin the same way as the push button from above.
The BCA pins I directly connected to pins 4, 5 and 6 on the Nano.
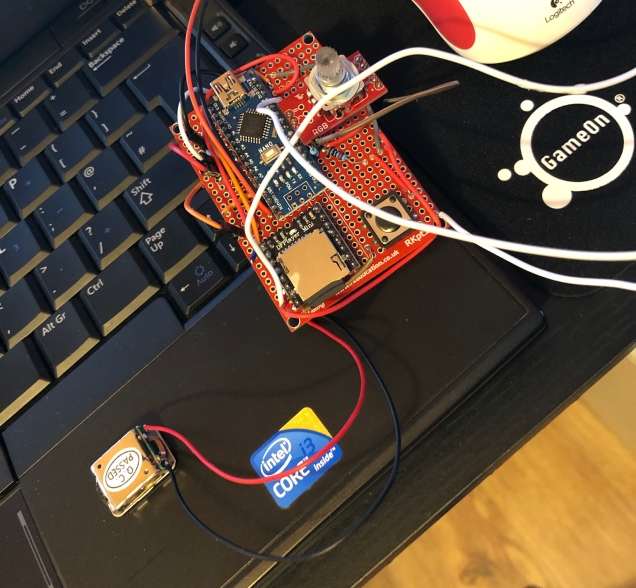
After testing the sounds, the RGB adjustment and the blade on/off modes I soldered the whole board up – including now the 9v battery connector, black wire to GND and red wire to VIN:
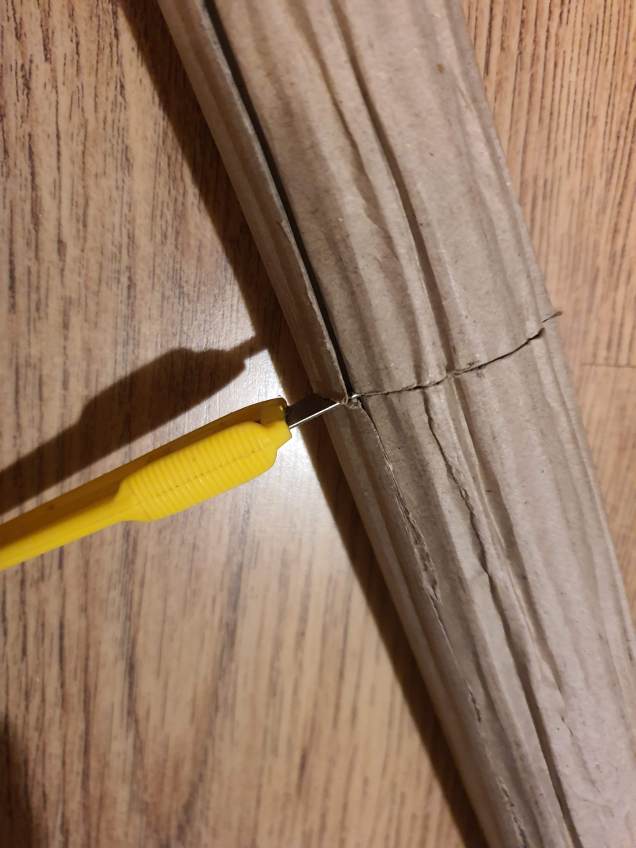
Then to make the handle I got the cardboard tube the plastic rod came in and cut it to size and wrapped around with electrical tape, because up-cycling:


Then to help hold the rod in place I used the inner cardboard that also came with the delivery:
With that ready it was time to glue the main board on:
Next up is strapping the bone conductor to the plastic rod itself to get the sound to go through it:
Then the Pixie in through the bottom with about 10 tons of hot glue to hold it onto the bottom of the rod:
Then loads more tape on to hold the blade to the handle:


Also you can see I’ve got the battery connector taped on, the battery is a bit loose at the moment but I can’t permanently attach it for obvious reasons; I may find a better way to do this in future.
And the main hardware is done:


You can’t stop the change, any more than you can stop the suns from setting.
You can grab the code from My GitHub.
A lot of the code was taken from my RGB Potion project, which also used a rotary encoder to change RGB values on an LED.


In order to get the timings working correctly on the buzz sound and not have the program stop every time it plays (which would interfere with the rotary controls and the on/off button) I used the instructions from here. This basically sets up a timer so that when a certain number of milliseconds have elapsed the program does something, but without pausing the code with clunky delays.
I have it setup to match the length of the buzz MP3 which is around 3000 milliseconds.
The rest of the code is setting up the required pin input outputs, the controls for the Pixie and for the DFPlayer. You can find instructions here and here.
I’m just a simple man trying to make my way in the universe.
The saber works so well and is way too much fun. I had more fun with it than I did watching Episode IX: https://www.youtube.com/watch?v=LMOf00TXVjI
As you can see in the video the blade light does cut out every 3 seconds, when the MP3 player kicks in, I’m fairly certain this is due to the fact they both use softwareserial to work so they interfere with each other – I’ve tried with the buzzing sound off and the blade was consistent.
Until I find a workaround the blade noise is worth the flickering of the blade – the sound just adds to the fun factor so much.
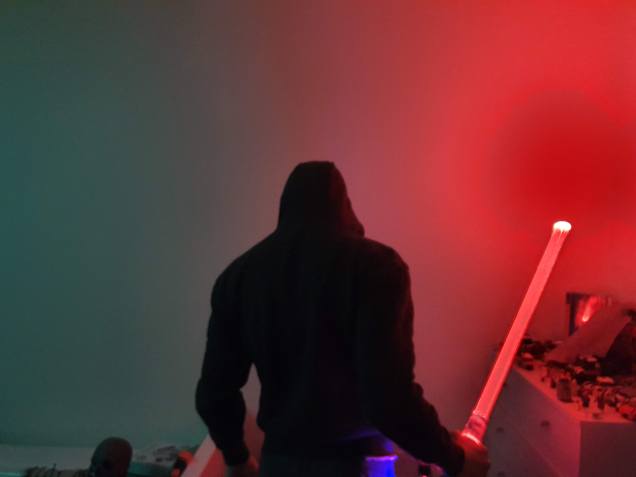
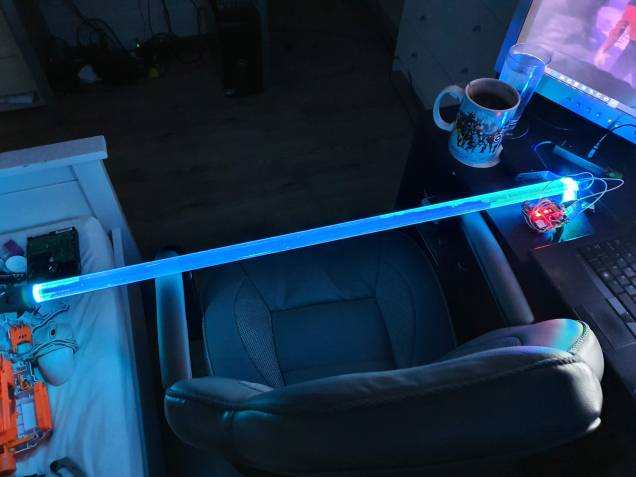
Here are some more pictures of the blade and me having a great time pretending I’m a Jedi/Sith.


And it looks even better in the dark – totally lights up the room:


Power! Unlimited power!
So I had a lot of fun with this – I think it’s a big improvement over the prior model in terms of aesthetics and electronics design, it could still be tidier especially with the battery not really being held on.
The buzzing sound really enhances the experience, next time I think I will put an amp in to make it louder and/or get a bigger bone conductor. Also if anyone knows how to fix the cut out of the blade when the MP3 plays let me know.
Feel free to let me know what you think and if you want to make this yourself please do and try to improve!
Thanks for reading and I’ll see you next time.